Showing posts with label Thank You. Show all posts

Sunday, 4 October 2020

Blue tones

I started this card intending it to be my DT card for my Tone on Tone challenge at CAS Mix Up this month - but once it was completed I realised that there probably wasn't enough 'clear space' (actually there was NO clear space!!) and although I considered (briefly) cutting it into a panel, I decided against it as I liked the whole stencil!

 I was happy with the card once it was finished so just sharing another example of 'Tone on Tone' stencilling.

I rarely use coloured card stock for a base but this card I thought was light enough to show up a stencil.

My 'Petal Burst' stencil is from Funky Fossil and I used Versamagic 'Sea Breeze' ink.

White heat embossed/ black sentiment, a few white enamel dots added, and after sponging lightly round the edges, I popped it onto the blue card base.

This was a quick make too and maybe the coloured cardstock I have will get used for this technique more often, especially when I need a card in a hurry!
Happy crafting and stay safe wherever you are in the World. x

Thursday, 1 October 2020

CAS Mix Up October Challenge

Uber excited as it's MY turn to host at CAS Mix Up this month.
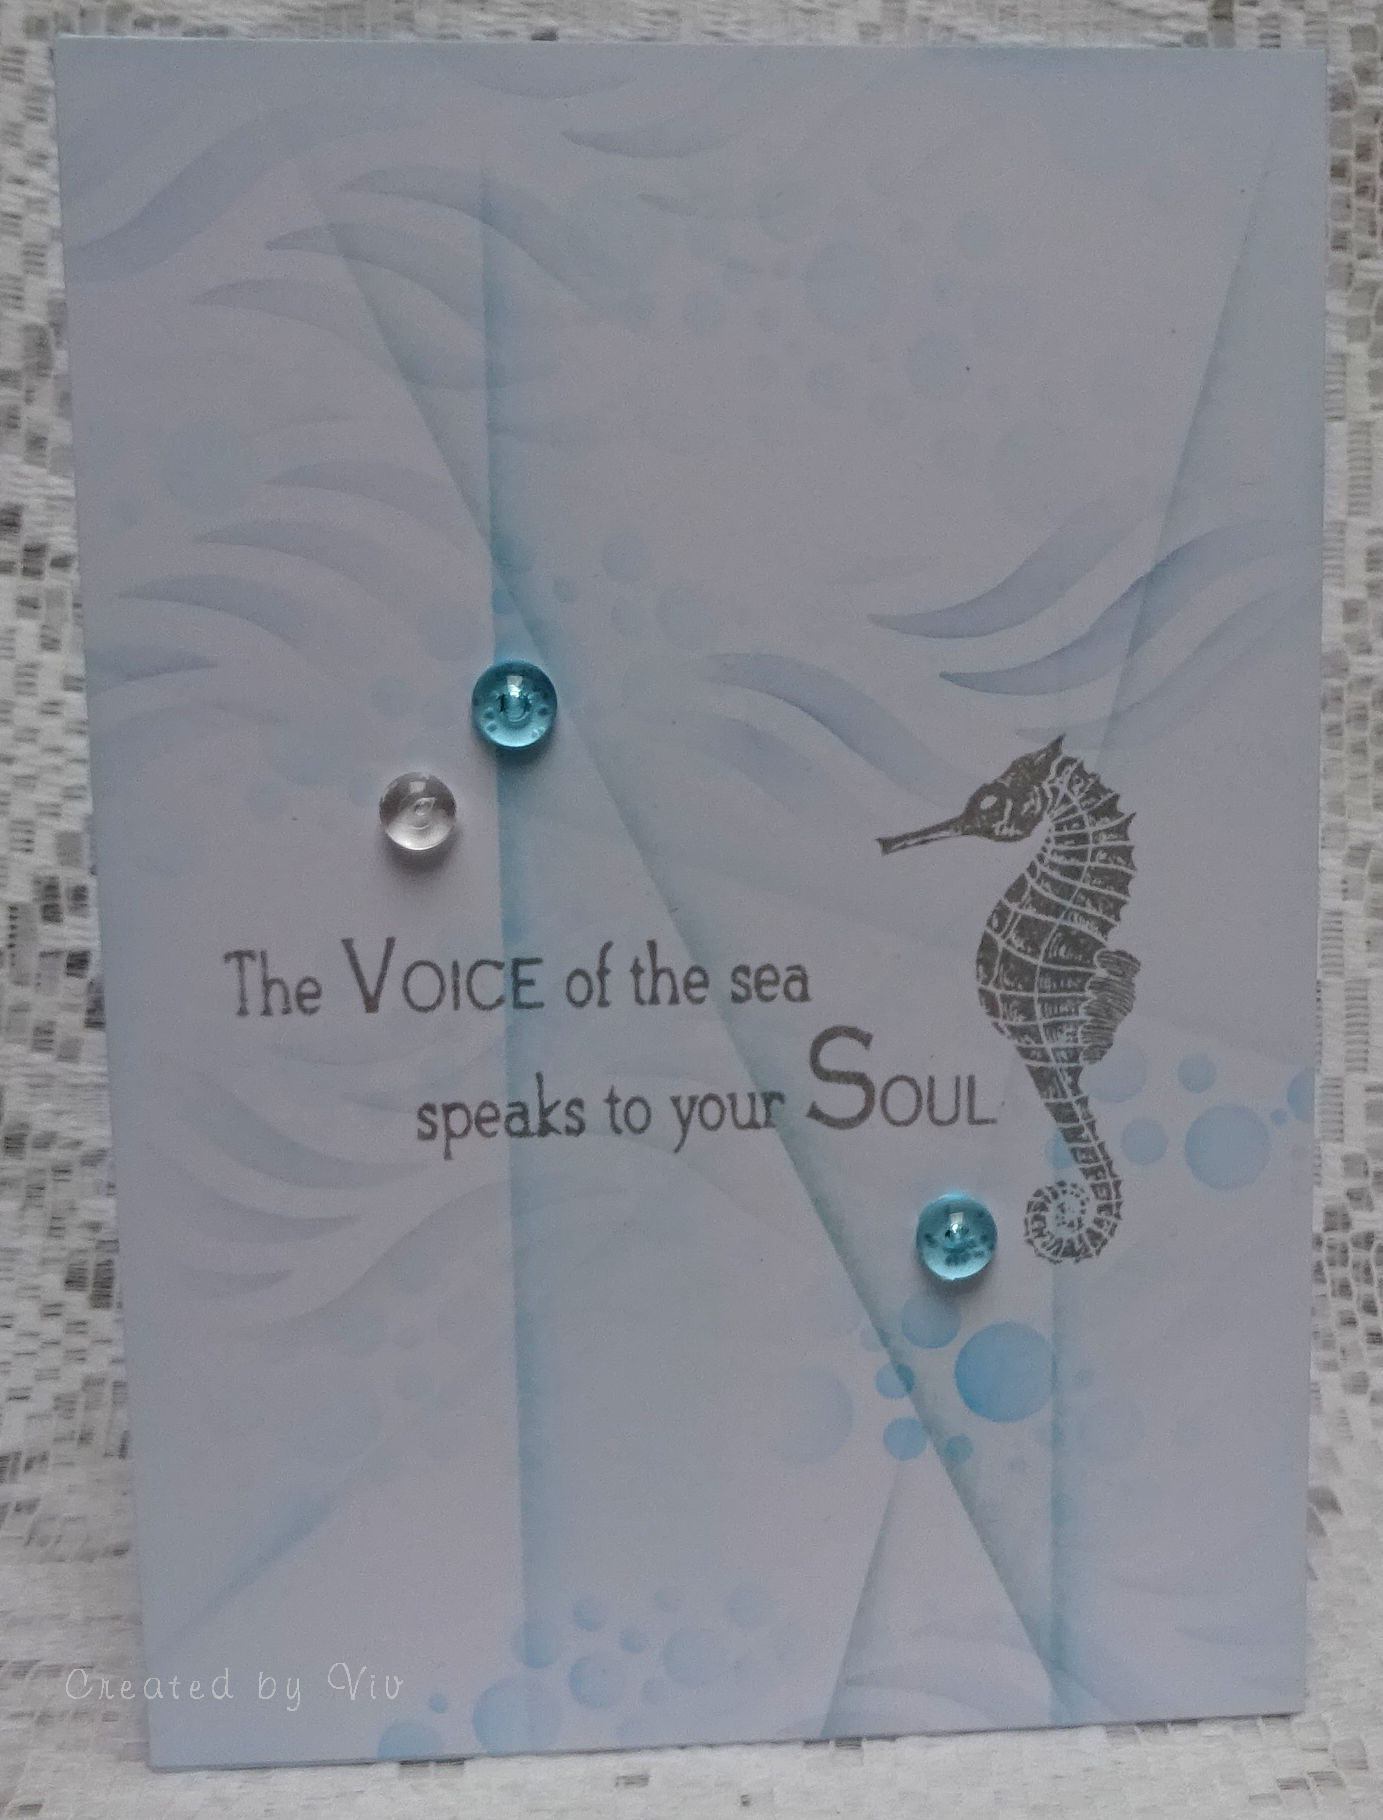
As it's stencil's turn I have chosen Tone on Tone Stencilling. Nice and easy and you can play about with different shades!
There's some links over on the blog to give you some technique info but it really is just as the title of the challenge theme suggests.

I  watched a video from the very talented Eileen (link over on the blog) and decided to try the technique of making a soft geometric background using only shades of one colour.

I chose shades of blue - Tumbled Glass, Salty Ocean, Weathered Wood, Stormy Sky - a bubbles stencil and a waves stencil to be the background for my seahorse.

I added a couple of blue and clear drops to finish.

This was my first try at this geometric background technique using a piece of acetate for the straight lines and it won't be my last as I really like the soft abstract effect it achieves, so am looking forward to having more attempts with different shades.

Hope you will have a go at my challenge this month - and please check out the amazing creations from the rest of the DT! 
We're delighted to have Pat (Colourful Card Creations)  as our Guest Designer this month and she's made a fab card and I'd really appreciate it if you paid her a visit!

Thanks for looking today. x

Friday, 10 July 2020

Bright

It has been a wet and cold week so I have spent some time in the craft space making inky and catching up with a few orders. (Not that I needed an excuse!)
This card came together with the addition of a scrap of card cut with a curved stitched die!

I blended a variety of red/yellow/orange Distress Inks and then applied the Bokeh technique using a home made stencil.

I added a strip of bright orange card to the die cut to split the card and popped on a die cut sentiment and a couple of sequins to finish.

Sharing over at
Daisy Chain - No designer Paper
MIUCB - A/Goes plus technique (Bokeh)
Stinkn'Inkers - I see Spots

Am hoping that the forecast for a nice day tomorrow is right as it would be lovely just to be able to take a cuppa outside for half an hour and look at blue sky instead of a grey wet and miserable landscape. (And give my poor drowned pots and containers some TLC without it feeling like it's November instead of July!)

Have a great weekend whatever you're all doing and thanks for taking the time to stop by today. 
I am on countdown to the visit to the hairdressers on Monday! x

Friday, 18 October 2019

October Mid Month at Stamping Sensations

The 'Trees and Leaves' challenge is half way through at Stamping Sensations, so here is my reminder post.
We are sponsored by Stamp Addicts and full details of the wonderful prize are shown over on the challenge blog - please follow our rules so you can be in with a chance of winning!

Having done a bright rainbow card for the start of the challenge(which you can see here) I have reverted back to traditional Autumn colours for this one!

I randomly sponged some Antique Linen DI over a piece of card first.

The stamps are from a Stampendous set called 'Summer Leaves'.
Used Tea Dye, Rusty Hinge and Dried Marigold and the fern stamp was inked in Bundled Sage.

The script stamp is from Indigo Blu and is second generation stamping with Pumice Stone.

Sponged the Pumice Stone lightly round the edges and stamped the sentiment and a tiny leaf onto some cream vellum and heat embossed.

Matted onto Kraft card before placing on the cream base card.

If you haven't already done so, stamp up a 'Trees and Leaves' project and come and join us! The prize is worth having!

Am sharing my Autumn Leaves over at
SOS - Pumpkin Spice
Ellibelle's Crafty Wednesday - Stamp It
Let's Create - A/Goes with option Fall Colours

Happy Crafting! x

Saturday, 3 June 2017

A Change


Have had two full days at home this week!
Put the washing in as soon as we walked through the door Thursday night (about 11.30pm), managed to get it all dry and ironed yesterday, packed again for this week (away again tomorrow!) and then sat down today in my much missed craftie space for a couple of hours.
Straight after my tour (the one here in England not the one abroad) a friend lent us the use of their static caravan on the South Coast. We had a lovely couple of 'down time' days, much needed and it was really nice to relax.
I collected a few shells from some walks along the beach and we generally just lazed about for 3 days. WONDERFULLY FABULOUS!!
I wanted to give them something to say thank you so this is what I've done......
Apologies for the shadows on the pic - it was a right palaver trying to get a decent photo at all!

So I started off with a piece of left over watercolour paper, (might just get in under the gates before it's dark in the Playground then.....) painted the sky with watered down Stormy Sky DI. Masked off the bottom half and did a bit of sponging with Shabby Shutters, Forest Moss and Crushed Olive to make a grassy hill then masked again and used watered down Salty Ocean for the sea.

The sand is sandpaper! Stamped the birdies (Wetlands - SU), ripped the sandpaper and then went over the torn edge with white wax pastel. Ran the same pastel along the sea to make something that remotely resembles waves.

The yacht was on a sheet of laser cut thingies that I bought simply years ago - found it when I was in the drawers looking for the sandpaper - I just snipped it off and stuck it down - surprisingly it looks like the boats on the Solent where we were.
The shells were from those collected and I added a tiny bit of string - for no other reason than it was well - just there in the drawer!
The shadow box frame was painted with white acrylic paint (suitably thinned) then I used a large flat brush and dragged Iced Spruce DI across it.

I am actually rather happy with this - It's only a small piece - about 4 inches square, and I really hope the recipients like it too. It's been a long time since I've done anything other than cards - well in fact it's been a long time since I've done - well- anything!!!
So am sharing this little thank you present with the following challenges -
Scrap + Craft - A/Goes with String (and I know it's only a small piece but it IS String!)
SOTSS - B is for Beach
A Inky Mess - Anything Mixed media
Rubber Dance - Inspiration Photo

Thanks for taking the time to look and I love reading your comments - promise to be round to visit you all very soon. x

Saturday, 11 March 2017

An entire week....almost!

So it's now almost an entire week since my last blog post and I have done...... not a lot. Not a lot Craft wise anyway. Have done tons of other stuff and then when I have come up here and sat myself in the chair cannot think of a single thing to do!

I've got Yupo paper coloured with alco inks, sponged bits of card and lots of bitty things sitting here on the desk looking forlorn and unloved and waiting for some action.... and still I haven't managed anything - apart from this one card.

And this was only made as I found the stamped image in a drawer!
The stamp is an old La Blanche one given to me by a crafting friend about 7 years ago - can tell it's never been used in this house as it still stamps beautifully!

So in the absence of creative moments, I simply coloured it in soft colours using watercolour pencils, picking the paint up from the craft mat rather than applying the pencil direct to the card.
I resisted the impulse to paint the sky and just left the image to stand on it's own.
I was going to make it a Sympathy card for the stash box, but it somehow ended up as a Thank You!
It's not going to set the world on fire as creativeness goes and it didn't really satisfy my craving to do something but it's a make all the same!

I am going to have to get the brain cells going over the next couple of days as at the end of the week the madness starts in earnest and then there definitely won't be any time for making - and I want to be able to schedule some posts other than those for the Design Team!
Sharing this make at -
Sweet Stampin - Anything but a birthday
Alphabet - Z for Zero embellies
Flower Challenge - Anything Goes
 
Thanks for being here - hope your weekend is a good one! x

Friday, 1 March 2013

Pastels

Well it's 1st March and I am still keeping to my promise to try and use up some of my paper stacks before buying any more (confession - have bought a couple of digi ones but they don't count...do they?????).
Here's another quickie offering using Tilda's Flower Garden.
(I bought the big scrapbooking pad -no idea why 'cos I ain't a scrapbooker!!- and I fear it may take me till next year to use it all up so perhaps the 'get it used up' promise might run out of steam very soon! LOL) 

It's just a simple 'thank you' card for my stash but I really do like the colours in this paper stack and I made a couple of the same design but just varied the paper layout.

I also have quite a large stack of deckle edged cards which I rarely use - only because I find square cards easier to do layouts on - and this was a way of using up a few.

The sentiment was stamped using a cheapie Rich Raspberry pigment ink pad which cost me £1!

The pink and white twine was part of a challenge win and I simply looped a little of the paper triangles over it and stuck to the card with 3d pads to raise them up a bit. 
  Seeing as how I'm such an ardent Breast Cancer supporter it's surprising really that I don't manage to enter more Link Up for Pink Challenges than I actually do - but this week I've managed it! Here is their Inspiration Photo (and I'd made the card before I saw it so it's DOUBLY surprising!!!)

Other Challenges -
Charisma - 5 Different papers
Cutie Pie - Pretty Pastels
Southern Girls - Banners and pennants
Craft Your Passion - Banners
Created With Love - Bright and Cheery
Fab n Funky - Pastel Colours
The Crafting Cafe - Favourite Colour - can't pick one colour but love these together!

In my previous post I mentioned I was making messy - and make a mess I did -  but I think I may have made such a mess that the project could end up being consigned to the bin- am off to see if it can be rescued and have made a note to self - don't leave small jars without their tops on- especially when you can tip them over without noticing then go out and leave the contents to seep all over your work for 6 hours...............

Have a great day whatever you're doing! x